Hello Sugar Lovers!
This week I tried something different. I always see such cool little kits for baking and I wanted to try one. I picked up a cupcake decorating kit from Walmart. If you can’t find it in your local Walmart you can find it online at https://www.amazon.ca/Sweet-Tooth-Fairy-345579-Cupcake/dp/B07BKVBP4L/ref=sr_1_5?ie=UTF8&qid=1548861520&sr=8-5&keywords=sweet+tooth+fairy+cupcake . Now I will say it is much more expensive online I got mine for about $12.00 so if you can find it in stores it will probably be cheaper. It’s from a brand called Sweet Tooth Fairy. The packaging was super cute and I like the idea of having everything you need in one package, especially if you don’t know to much about decorating. It was also cool that you had lots of options as far as what kind of colours and themes you are looking for. I also did a quick video review as well that you can find on my Facebook Page at https://www.facebook.com/ashleyJ306/

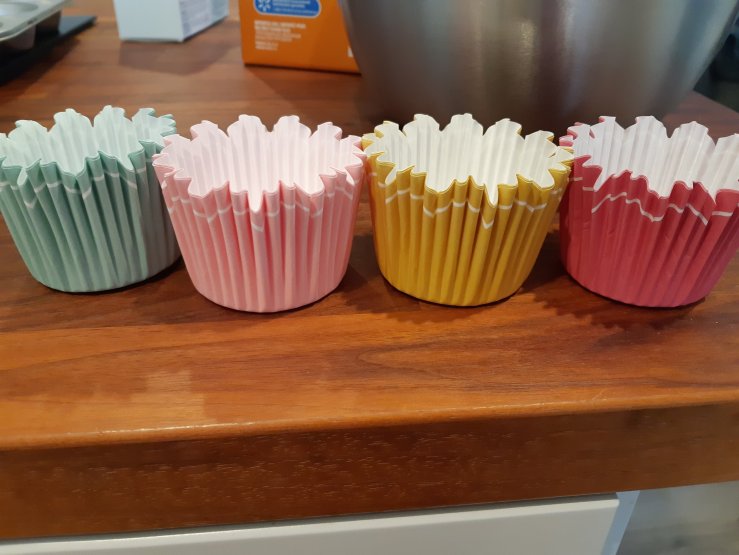
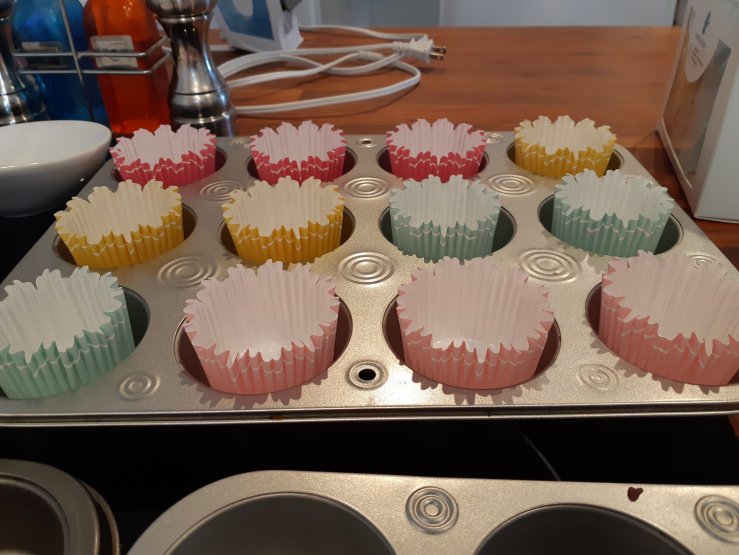
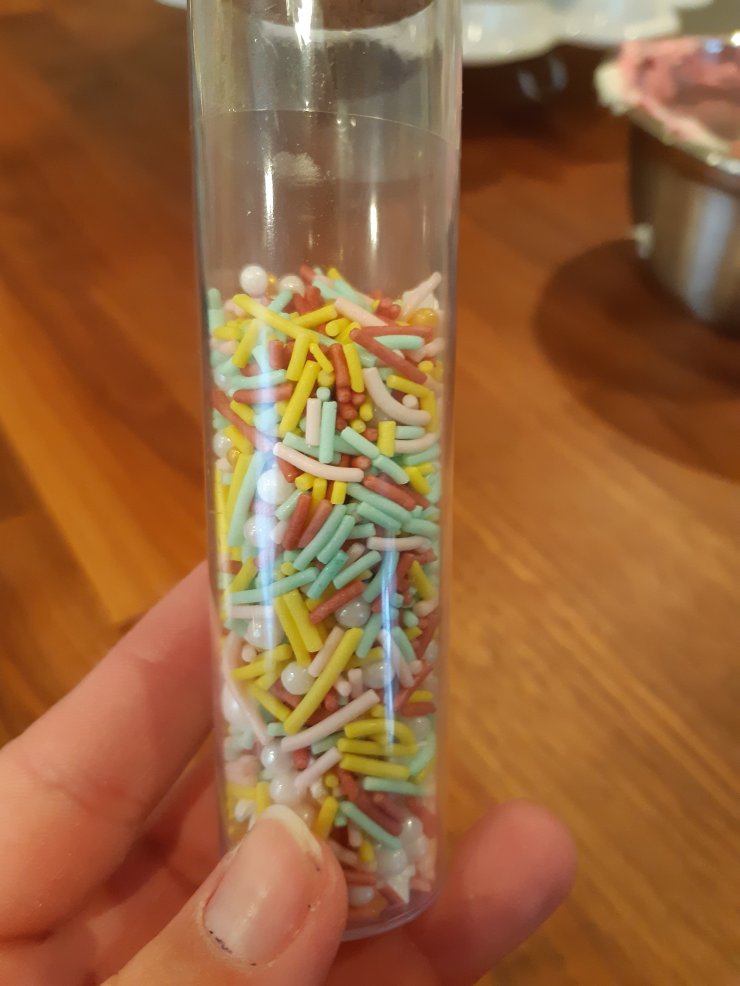
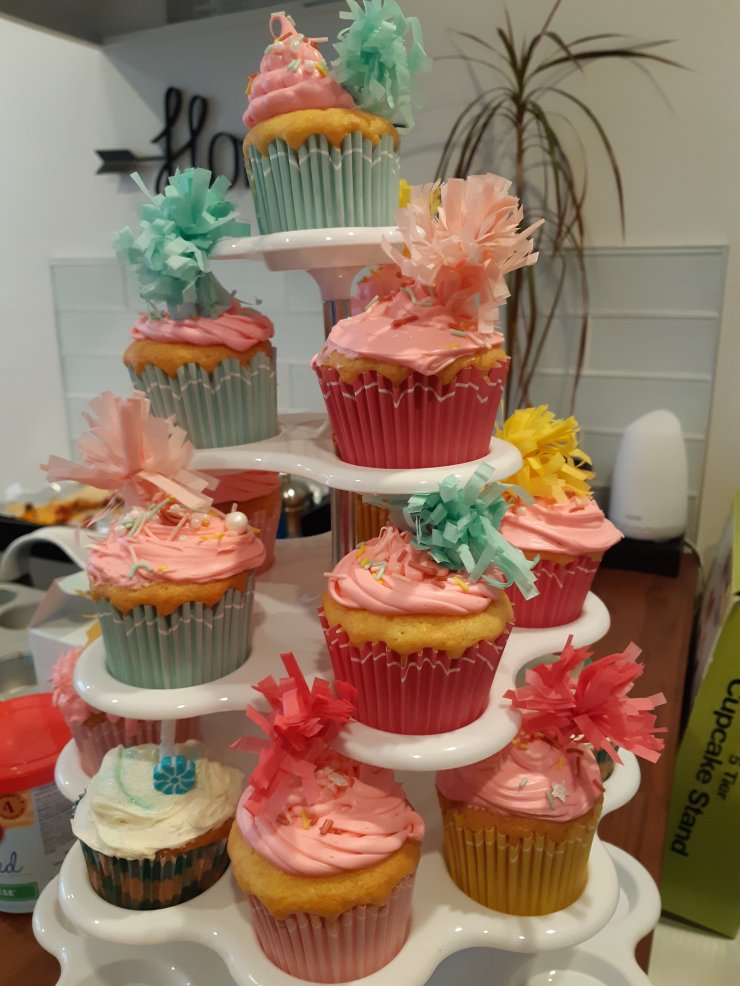
Is that packaging awesome or what! So in the package you get: 12 cups, sprinkles and 12 toppers. Now the kit is just for decorating so you don’t get mix or icing so you will have to pick that up. Alright lets get decorating!
Ingredients:
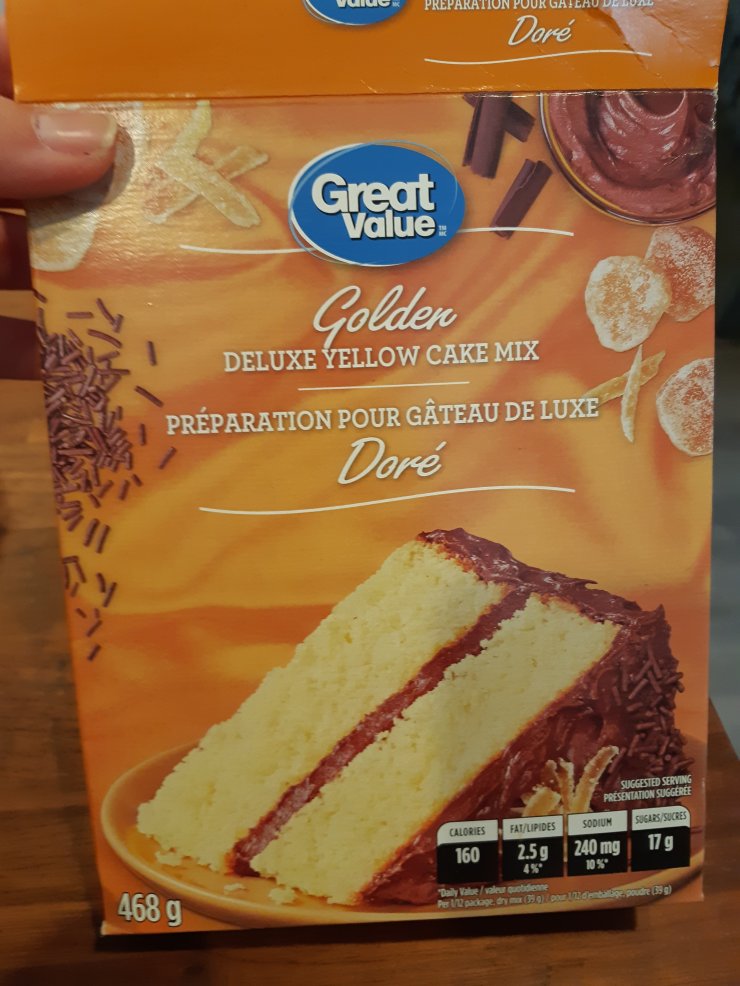
- Vanilla cake mix box (and what ever ingredients needed listed on the side)
- Sweet Tooth Fairy Decorating Kit……obviously
- Cream cheese jar of icing
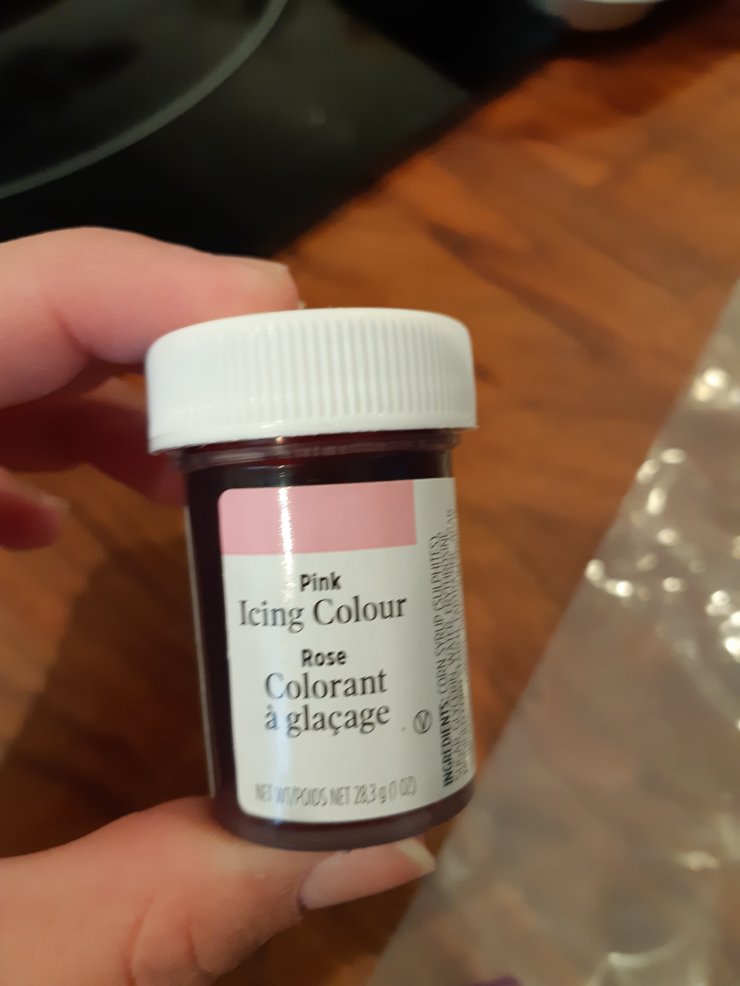
- Pink icing dye
Tools:
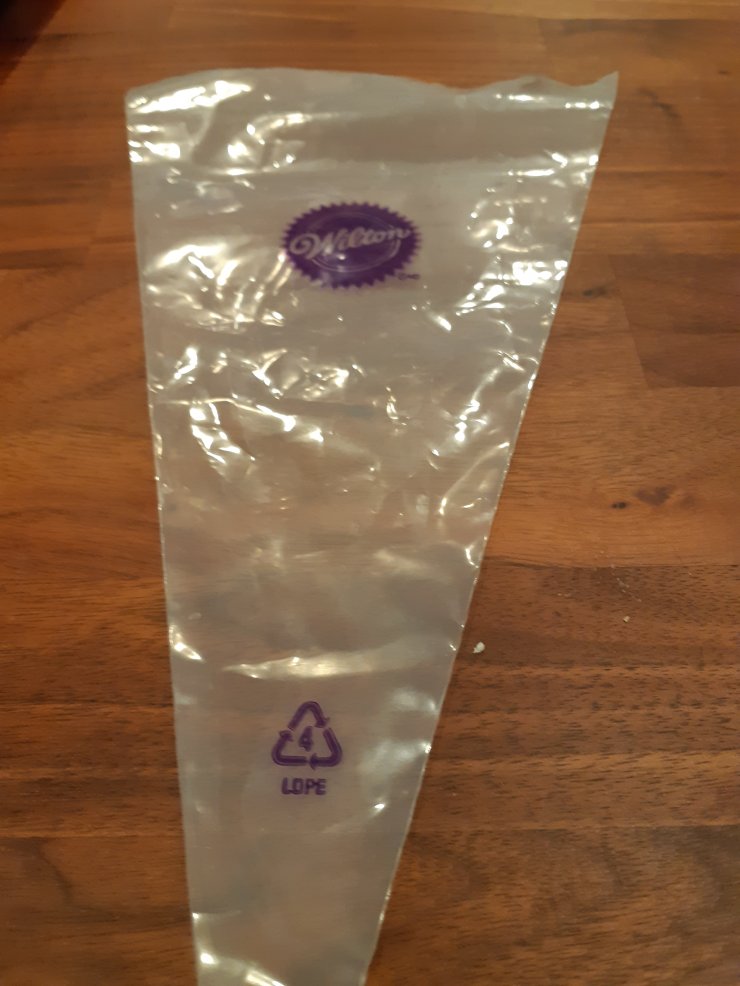
- Piping bag
- Piping tip of your choosing
*Everything else you should be able to find in your kitchen*
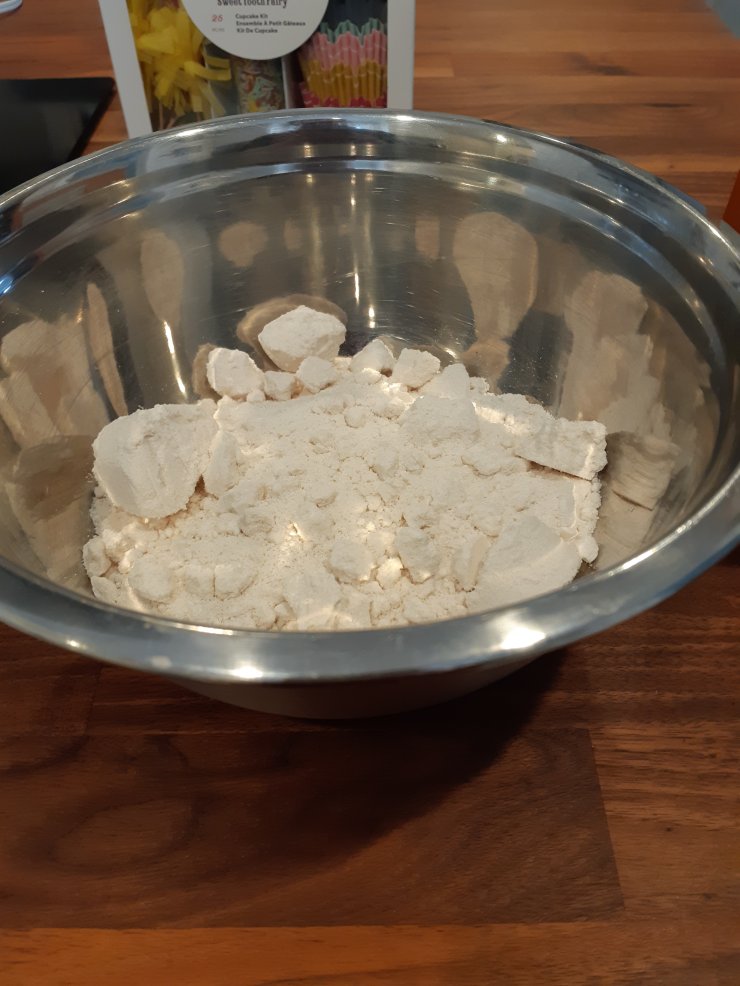
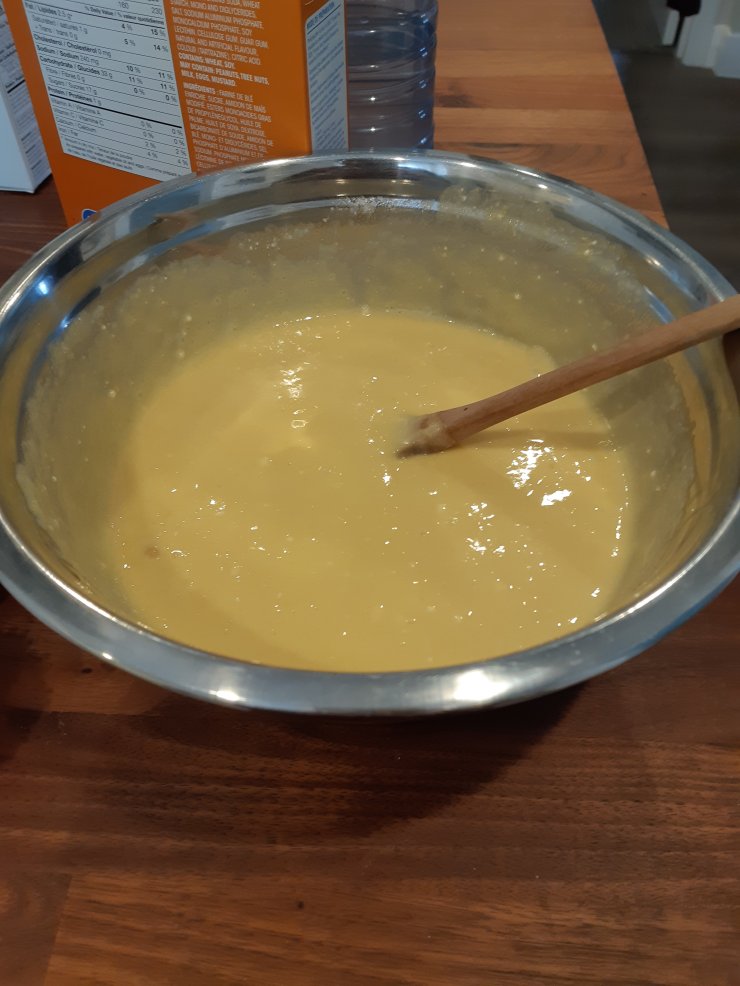
Alright first things first, lets get this cake mix made! So your going to make the cake mix just as you would any other time.
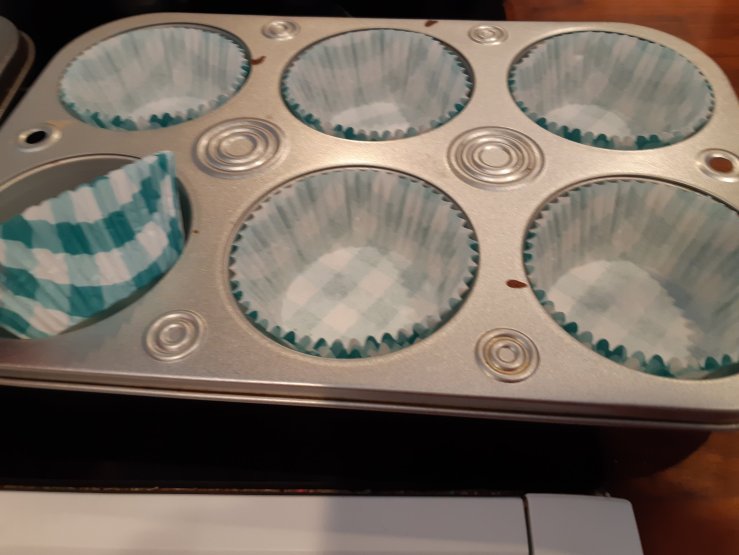
Get your cups ready in the muffin tray. One thing I noticed about these cups is that they were much thicker than paper cups. They had almost a plastic feel to them that I really liked. They also held their form really well even when they were just sitting chillin in the tins so that’s a pretty good sign. They only have 12 cups in the package and one cake mix typically makes 24 cupcakes so I just added a few cups that I had been meaning to try out. Shout out to my friends for getting those for me for Christmas!
To get them into the cups I know some people find a bit hard. Just because if you do it improperly the mix goes absolutely everywhere and that is not good for a picture moment. It’s funny everyone is always shooting for the Pinterest version of their baked goods. Then there is me over here just basking in my large amount of baking failures. Gotta look on the bright side of life folks!
So what I do to get the mix into the molds may to some people seem like a hard way to do it. Leave it to me to do the most complicated way of putting mix in cups. I have said it before in my blogs but the way I do it is using 2 spoons. You pick up the mix with one and then catch any run off with the other then you slowly drop it into the cup scraping off any excess from the spoons into the cup. It works for me but I know some people prefer to use ice cream scoopers.
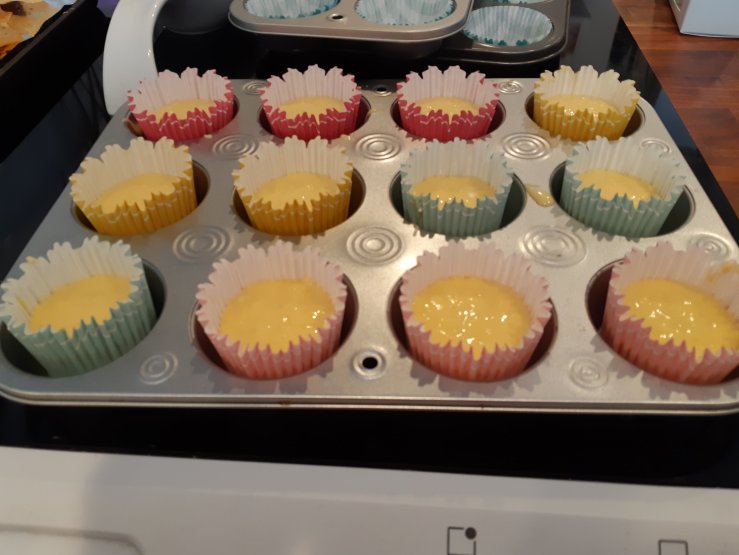

So your going to put them in the oven for the amount of time it says on the box. Just make sure to look at the instructions because usually the amount of time is different for cupcake tins. So throw those in the oven and let em’ bake!
I have said this a few times in my blogs but I always like to do a quick re-cap on some things. It will say it on the box if you read it, which I will admit……I sadly do not. I only really look for the ingredients and amount of time…..shhhh……don’t tell the baking gods. When you are trying to see if they are cooked a good rule of thumb to see if their done is to stick a tooth pick in the centre and if it comes out clean then your good to take them out. I know that there are also some tools you can use to check but it is doing the same thing as the tooth pick so I have never bought one. Maybe that would be more useful for a professional baker with laughably I am not.

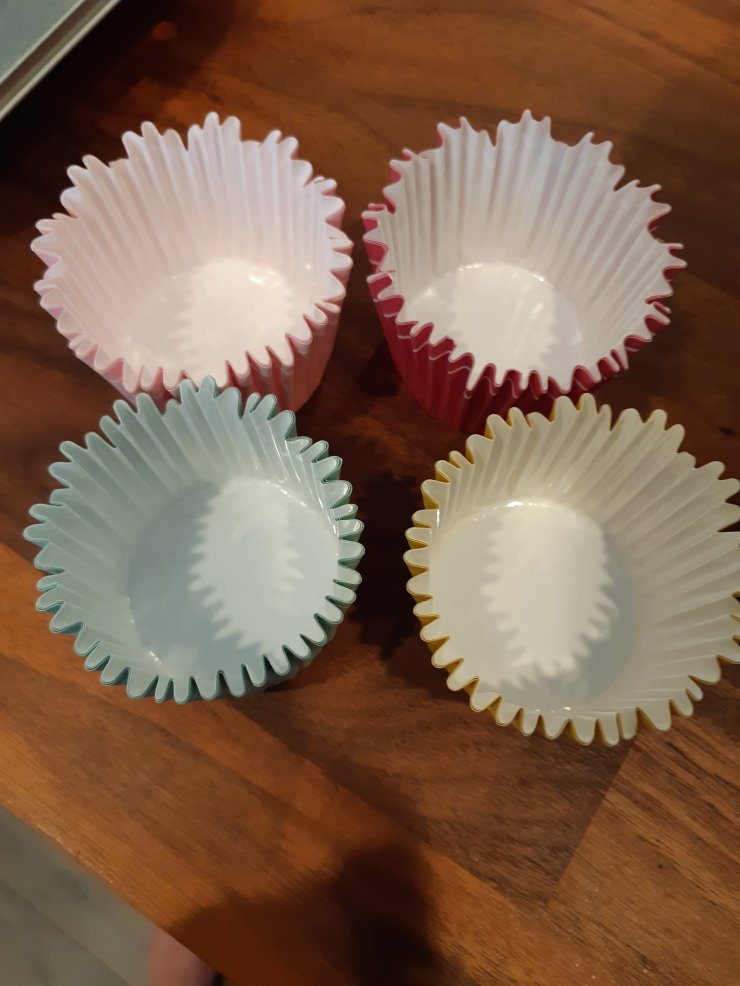
Something that I loved about these cups is that the design on the outside stayed there! OMG! When you make cupcakes as much as I do you get excited about these kinds of things. Usually the cup will have a nice design but then when you bake it the moisture will come through the paper making it distort the cup. These cups didn’t do that. It also looked like there was a plastic coating inside as well so I’m guessing that is what stops the moister and helps it not to stick to the cup.
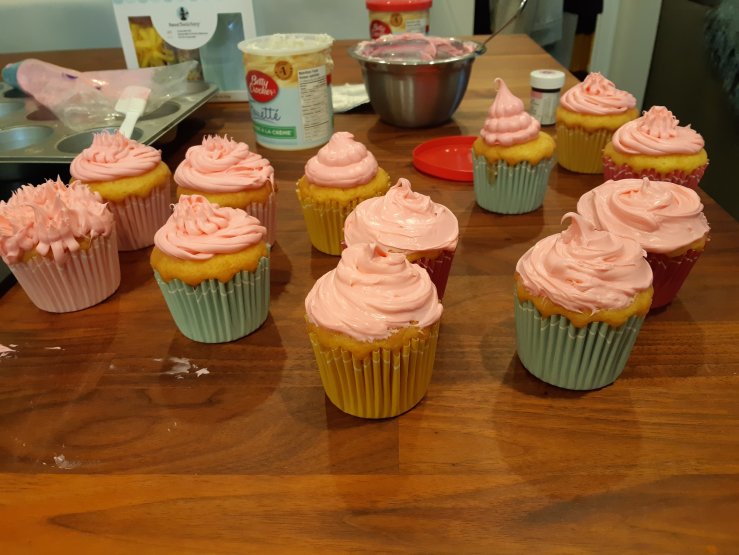
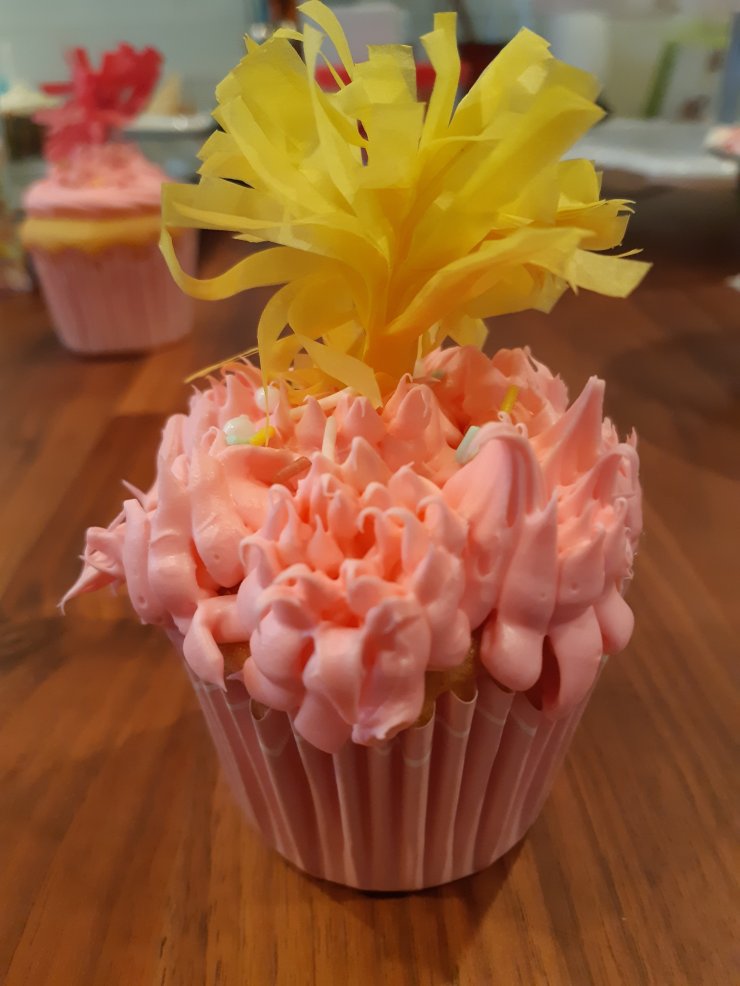
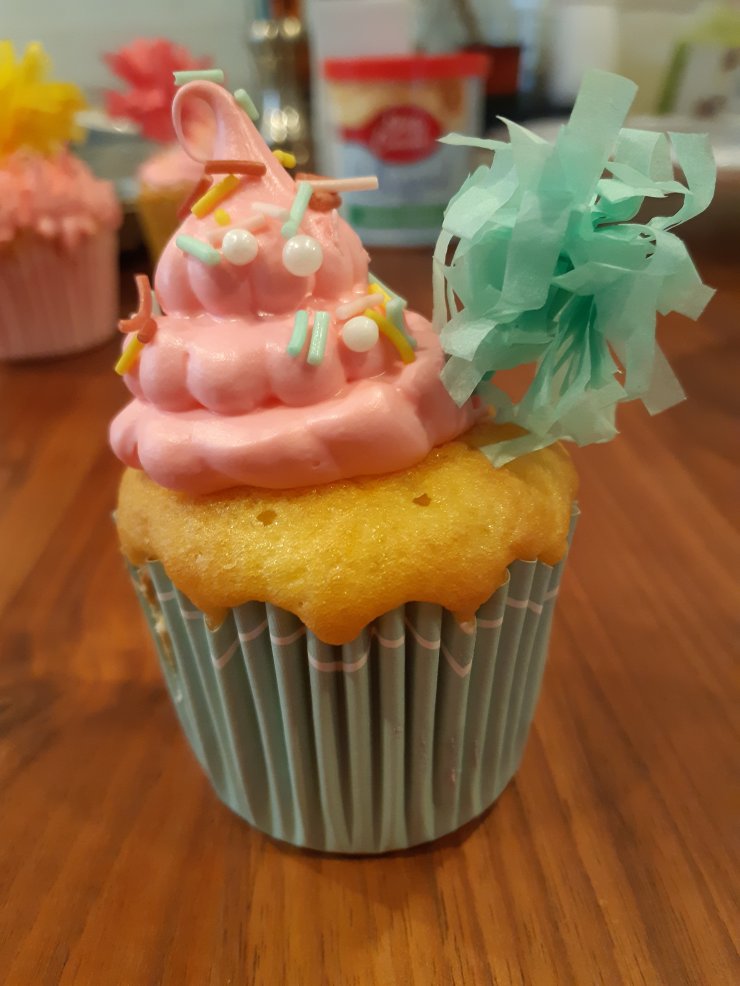
Next is what we have all been waiting for….drum roll….decorating!……I just realized how cheesy that was….oh well don’t care! It is really my favourite part of baking. I really love to make cupcakes they are possibly my favourite thing to bake. You are going to get your icing dye and started mixing it up with your icing. I made one jar of pink icing. You can use what ever colour you would like. I liked the light pink to go with the decorations. For the dye you won’t need much if your going for a light colour only a couple tooth picks worth should do it.

Once you’ve got your tip and your icing in the piping bag your good to star piping. So i chose to use a different tip then any I’ve used before. Moving out of the comfort zone people! I got this tip from my friends that got me those cool cupcake cups so thanks again guys. I tried different types of techniques as you can see. I loved trying different ways to icing the cupcake. It was a lot of fun. That is one of the things I love love love about cucpakes. You don’t have that pressure of getting every single thing perfect like you would with a cake. You can decorated however you want what ever way you want and if you mess up there is always another cupcake!

Once you have all the icing on you can start with sprinkles. Now……I love sprinkles……I do……but they can be a real pain in the butt to get on where you want them without making a complete mess. These sprinkles come in a tube so maybe you could sprinkle them from there. I will typically take some and put it in my palm so I can just take a pinch at a time and get them where I want them. This isn’t the brands fault this happens with all sprinkles I find. If anyone has any genius ways to put them on please let me know. I can use all the help I can get. The sprinkles were very cute as well. If you place them right you can almost make it look like a cartoon. I liked them also because they had the multi colour sprinkles but also the small stars and pearls that gave it a nice touch.
Once that’s done you can add your topper. With these depending on the icing design I placed them where ever I wanted. Go crazy, colour outside the lines people! I liked the idea of the party type of look for the toppers they look fun. The only thing I didn’t love about them was that they were a bit smooshed from being inside the box for so long I presume. You weren’t able to fluff them as much as I would like but I still think they look pretty awesome.

N
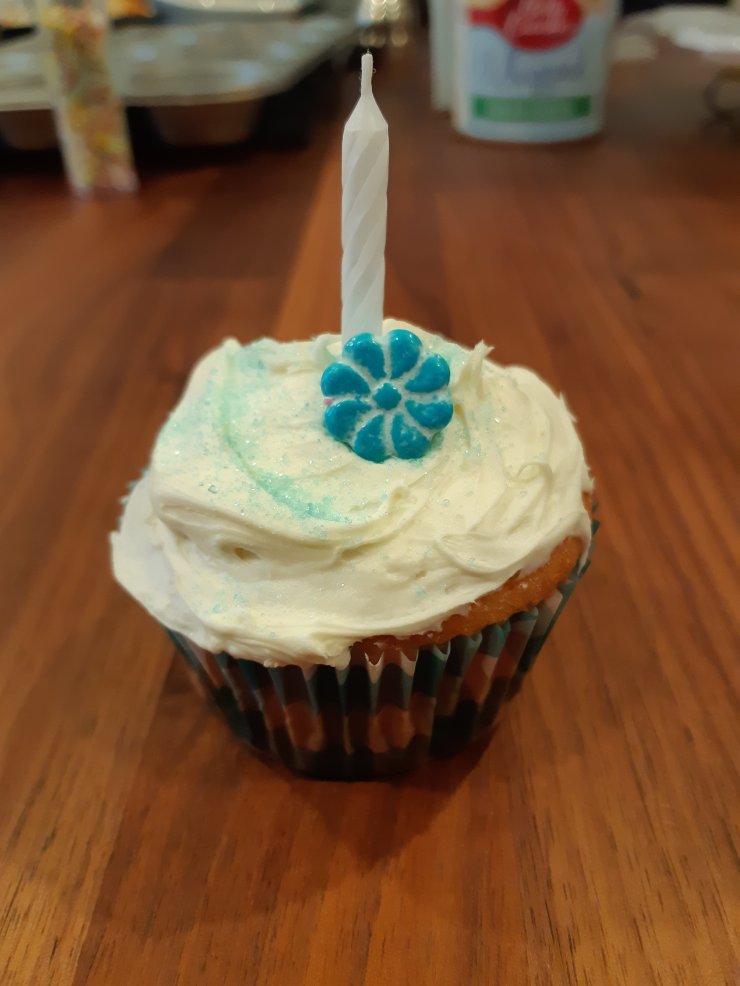
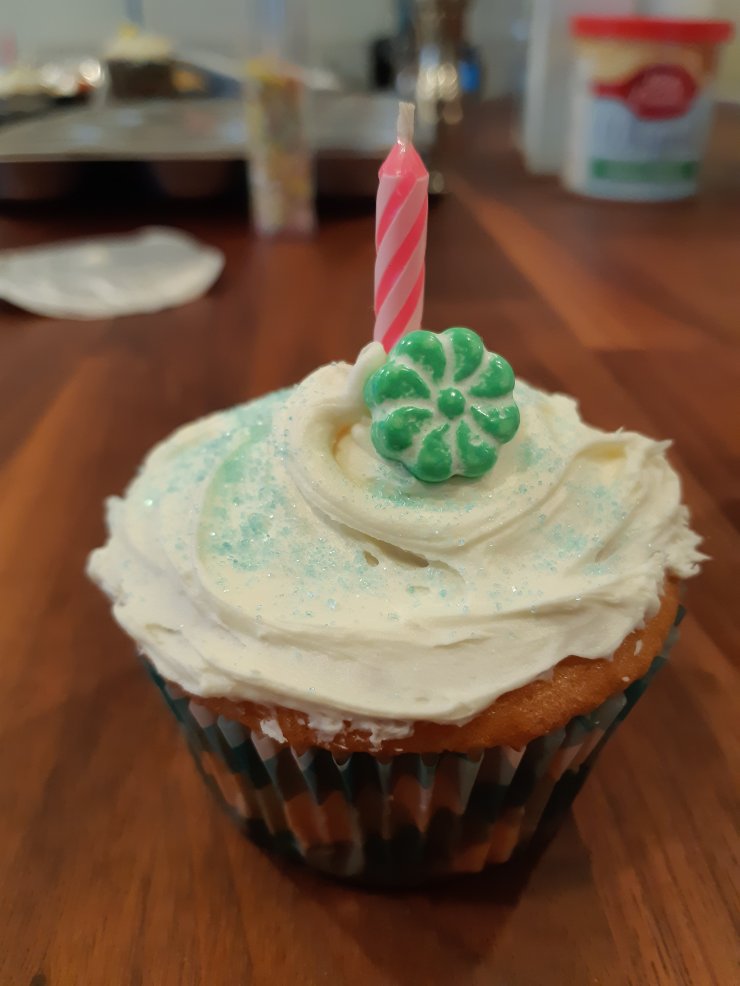
ow for the extra cupcakes that I made I did admittedly take the lazy way out. I took a bit of the frosting and spread it on top. Then I took a candle and put it in the centre along with some flower candy’s I had. These would be good for a quick baking emergency for a birthday or another occasion.
So that’s it guys! I really liked the way they turned out so I would definitely worth a buy. especially if like I said you are a beginner and would like to try it out. I can not say how much I love love love the cups though they are pretty frickin great. I will have to see if I can find some like it in stores. I will keep you updated on how that goes!
Thanks so much for hanging out with me it was a lot of fun making these. You can check out my facebook page I post a lot of my updates on there. As well if you would like to support The Baking Project you can go to my Patreon account as well. All the links are in my social media and support tab.
Happy Baking Everyone!
Your Friendly Neighbourhood Baker
